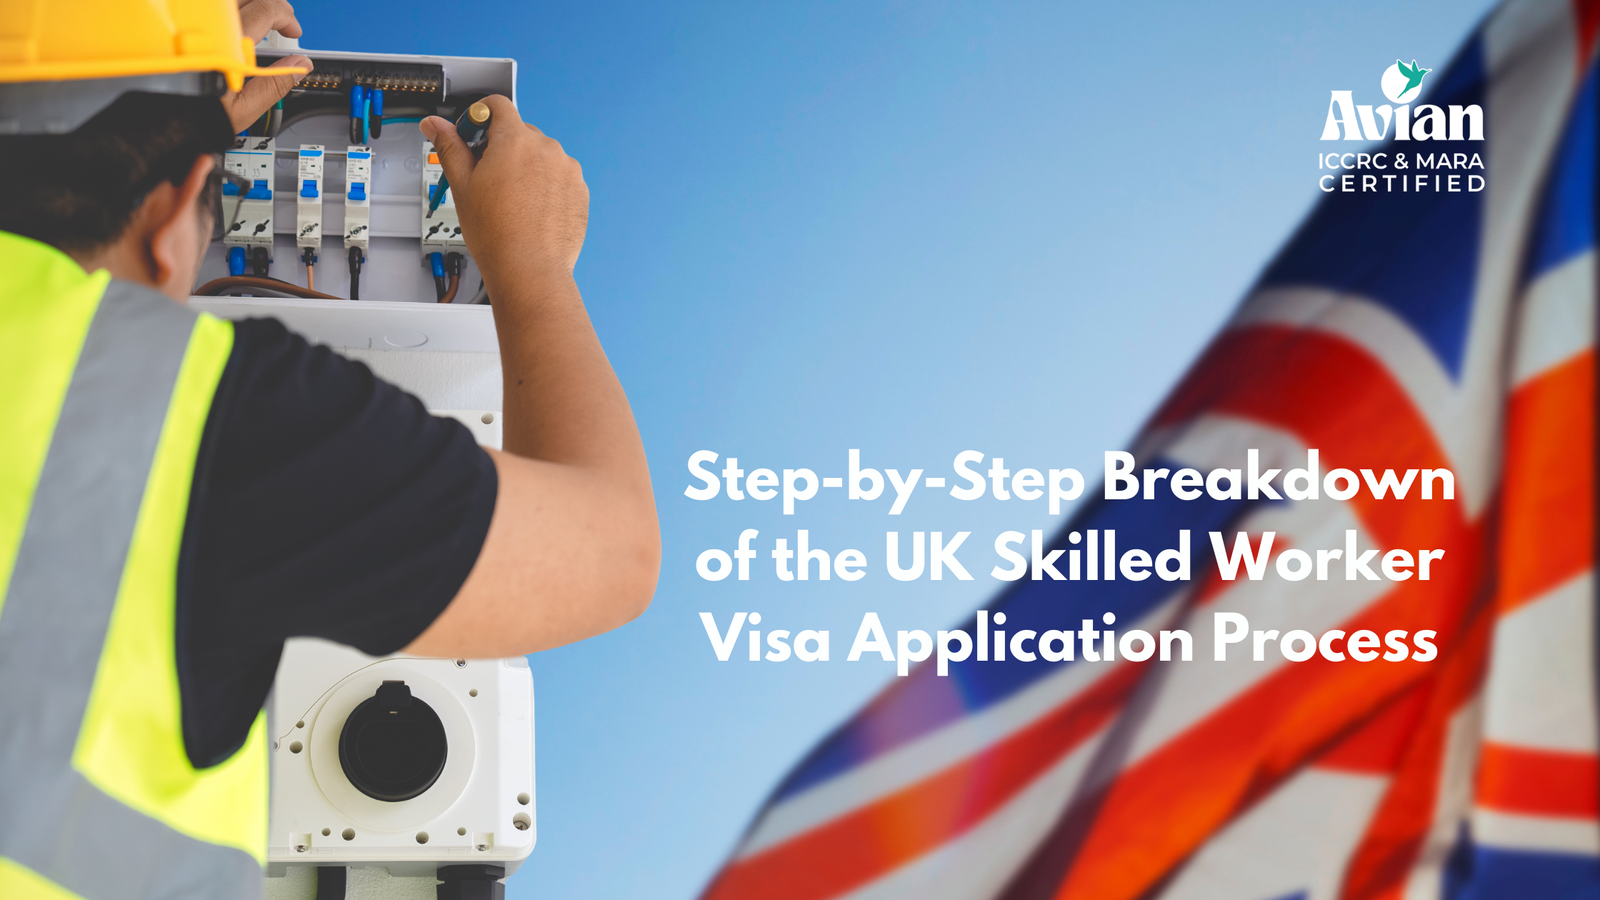
If you’re planning to move to the UK for work, the Skilled Worker Visa is the main route most professionals take. The process looks complicated from the outside, but once you know the exact steps, it becomes much easier to manage. Let’s walk through it in a clean, practical way so you know exactly what to expect and how to prepare.
What this visa does for you
Before we jump into the steps, here’s the short version. The UK Skilled Worker Visa lets you live and work in the UK for an approved employer who has a sponsor licence. You can bring your dependents, switch jobs later (under certain rules), and eventually apply for permanent residency.
So the stakes are high, and getting every step right matters.
Step 1: Confirm You’re Eligible
Here’s the thing: many people rush into the application without double-checking the basics. Save yourself trouble by looking at these requirements first.
You must have:
- A confirmed job offer from a Home Office-approved employer
- A Certificate of Sponsorship (CoS)
- A role that’s on the eligible occupation list
- English proficiency (usually via IELTS UKVI or an approved equivalent)
- Enough funds to support yourself unless your employer covers it
Your salary must also meet the minimum threshold. Most roles need to be at or above the going rate for the job code, so Avian Global always advises applicants to cross-verify the exact code and salary band before moving forward.
If everything checks out, you’re good to move to the next step.
Step 2: Get Your Certificate of Sponsorship (CoS)
The CoS is the backbone of your application. Without it, nothing moves.
A few things you should know:
- Only licensed employers can issue it.
- It contains details like job title, SOC code, salary, start date, and sponsorship confirmation.
- It comes with a unique reference number you’ll need during the online application.
There are two types:
- Assigned CoS
- Unassigned CoS
For Skilled Worker Visa applicants, the employer assigns a specific CoS to you. Avian Global regularly helps applicants understand how to request the right one and how to verify its accuracy. A single mistake in the SOC code or salary later becomes a visa refusal, so check everything line by line.
Step 3: Gather Your Documents
This step feels simple but can slow down your application if you don’t prepare ahead. Here’s what you’ll usually need:
- Valid passport
- Certificate of Sponsorship number
- Proof of English proficiency
- Proof of funds (if applicable)
- TB test results (for applicants from listed countries)
- Educational documents (if required for your role)
- Police clearance certificate (if the job requires it)
Scan everything clearly. Blurry uploads delay decisions because the Home Office may request them again.
Avian Global often supports applicants in organising their documents so they don’t waste time during submission.
Step 4: Complete Your Online Application
Now you’re ready to fill out the UKVI application form.
This is where you enter:
- Personal details
- Travel history
- Criminal record (if any)
- CoS details
- Job information
- Employer information
What this really means is that everything you enter must match your CoS and documents exactly. Even a slightly mismatched job title can trigger a verification email from UKVI or, worse, a refusal.
This part isn’t hard, but you need to stay attentive. If you’re working with Avian Global, our team usually reviews the draft before submission so nothing slips through.
Step 5: Pay Your Fees
The Skilled Worker Visa has three main costs:
- Application fee
Depends on whether your role is on the shortage occupation list or not, and your intended stay duration. - Immigration Health Surcharge (IHS)
This is the big one. You pay it upfront for the entire validity of your visa.
It gives you access to the UK’s National Health Service. - Optional priority service
If you want a quicker decision, you can pay extra for priority or super priority.
Plan this part well because once your payment is processed, you can’t undo it without withdrawing your application.
Step 6: Book Your Biometrics Appointment
After paying, you’ll be asked to schedule a biometrics session at a visa application centre.
You’ll need to:
- Upload your supporting documents
- Bring originals where required
- Attend on your scheduled date
- Provide fingerprints and a digital photo
Some applicants can use the UK Immigration ID Check app instead of biometrics, but that depends on nationality. If the app is available to you, the process becomes much faster and smoother.
Step 7: Submit Your Documents
You can upload the documents yourself or choose the centre’s assistance (paid service).
Make sure your uploads are:
- Clear
- Complete
- Correctly labelled
- In acceptable formats
At Avian Global, we always tell applicants not to rush this part. UKVI officers rely heavily on the scanned documents. If they can’t read something, they may ask for more information, which delays the entire process.
Step 8: Wait for a Decision
Once everything is in, the waiting begins.
Typical timelines:
- Standard service: around 3–8 weeks
- Priority: usually within 5 working days
- Super priority: 1 working day
Delays can happen if:
- Your documents need verification
- UKVI asks questions about your employer
- Salary or SOC code doesn’t match the rules
- Background checks take longer
Avian Global often monitors client applications and guides them if UKVI requests additional details.
Step 9: Receive Your Decision
If approved, you’ll get either:
- A digital eVisa (more common now), or
- A vignette sticker in your passport valid for 90 days
Once you land in the UK, you’ll collect your Biometric Residence Permit (BRP) if required. Always check the details immediately. If something looks incorrect, report it within ten days.
Step 10: Start Your Job in the UK
The final step is straightforward. Travel to the UK within the validity period on your vignette or activate your digital status, then join your employer on the start date mentioned in your CoS.
If you ever decide to switch jobs, get promoted, or extend your stay, there are new rules to follow, but the process becomes easier once you’re already in the system.
How Avian Global Helps
The entire process gets smoother when you have someone experienced guiding you. Avian Global supports clients through:
- Eligibility checks
- Employer and CoS guidance
- Document preparation
- Application filling
- Review and error correction
- Follow-up during processing
When you understand each step clearly, your chances of a successful visa outcome increase dramatically.